How to Safely Clean Yellowed SNES Shells Without Damaging Plastic
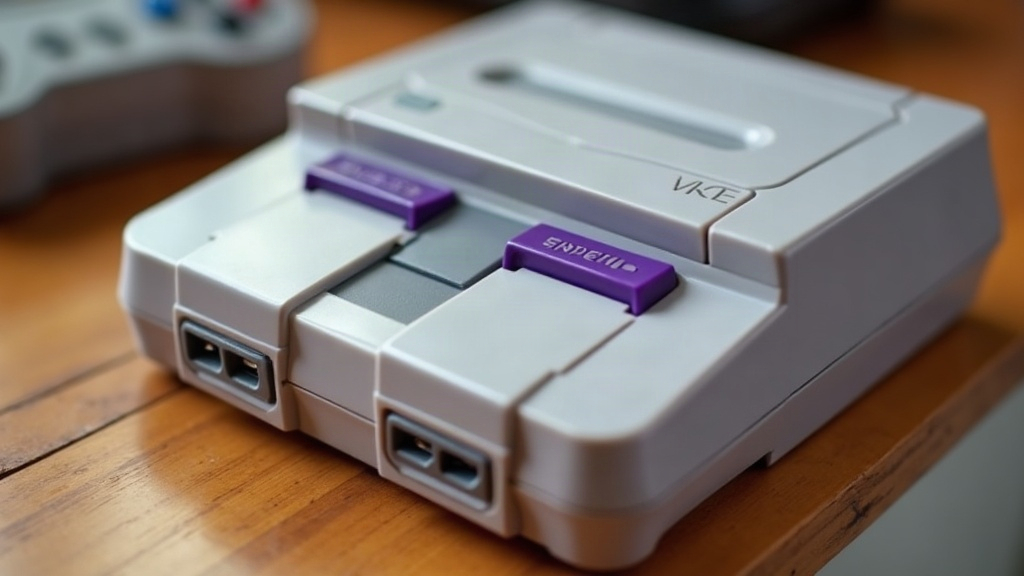
Why Your SNES Shell Turned That Ugly Yellow (And How to Fix It)
Yellowed SNES shells are probably the single most common cosmetic complaint you’ll hear in retro collecting circles. The good news? You can reverse it. No cracking, no warping, no permanent discoloration, as long as you follow the right process and don’t get impatient. This guide covers exactly how the yellowing happens, which methods genuinely work, and the mistakes that turn an otherwise mint shell into a ruined one.
Why SNES Shells Turn Yellow
The original SNES was molded from ABS plastic loaded with brominated flame retardants. Give it a few decades of UV exposure and oxygen, and those bromine compounds start breaking down, forming chromophores, the molecules responsible for that unmistakable amber tint. This process has a name: oxidative yellowing. It’s purely cosmetic in most cases and doesn’t weaken the structure of the plastic, though shells that have been baking in a window for twenty years can get a bit more brittle than you’d expect.
What actually causes it?
- Direct sunlight sitting near a window for years at a stretch
- Heat exposure, think attics, garages, or that spot next to the radiator nobody thinks twice about
- Age and plastic batch — oddly enough, some manufacturing runs yellow faster than others, even from the same era
The Retrobright Method (Hydrogen Peroxide)
If you want results people actually trust, retrobrighting with hydrogen peroxide is it. It directly reverses the chemical reaction causing the discoloration, rather than just masking it.
What You’ll Need
- 12% hydrogen peroxide cream (hair developer, sold at pretty much any beauty supply store) or 40 volume creme developer
- Plastic wrap, or a sealable container big enough to fit the shell
- A UV light source, sunlight or a UV lamp both work
- A soft microfiber cloth
- Nitrile gloves and eye protection (seriously, don’t skip this)
- Isopropyl alcohol, for pre-cleaning only, not as a whitening agent
Step-by-Step Process
- Disassemble the shell. Pull every screw, remove the motherboard, the cartridge slot, any stickers or labels. Never retrobright with the electronics still inside. Peroxide plus UV-generated heat is a fast way to cook a board.
- Pre-clean the plastic. Wipe it down with isopropyl alcohol on a microfiber cloth to strip grease, dust, and fingerprints. Skip this and you’ll end up with blotchy, uneven results.
- Apply the peroxide cream in a thin, even layer across the whole shell, don’t forget the recessed corners and vent slots.
- Wrap it in cling film so the cream doesn’t dry out mid-session.
- Expose it to UV. Midday sun (roughly 10am to 4pm) works great; rotate the shell every 1-2 hours so one side doesn’t get all the action. A UV nail lamp or blacklight is a solid indoor alternative and gives you more control over the process.
- Check in every 2 hours. Total treatment time runs anywhere from 4 to 12 hours depending on how bad the yellowing is. Resist the urge to rush this. Several short sessions beat one marathon exposure every time.
- Rinse thoroughly with lukewarm water and let it dry completely before you put anything back together.
Avoiding Damage to the Plastic
This is exactly where most DIY attempts fall apart. A few hard rules:
- Never reach for undiluted or high-concentration peroxide (anything above 12-15%). Yes, it works faster, but you’re trading speed for pitting and brittle plastic down the line.
- Watch the heat. A space heater nearby, or leaving the shell on hot asphalt in direct afternoon sun, can warp thin sections, especially around vents and screw posts. It doesn’t take much.
- Keep the cream away from labels and silkscreened text. Peroxide will bleach printed logos right off, and that’s not coming back.
- Don’t scrub while it’s wet. Peroxide softens the plastic surface temporarily, making it easy to scratch. Let it dry fully before you touch it with a cloth.
- Test on a hidden spot first, especially if you’re using a UV lamp you haven’t calibrated yet. This matters even more on rare color variants (SNES Jr., PAL units, special editions) where uneven fading can genuinely ruin a collectible.
Alternatives for Light Yellowing
Not every shell needs the full treatment. If the discoloration is mild:
- A magic eraser (melamine foam) with water can lift surface grime and light yellowing right out of vents and seams, no chemicals needed.
- UV-only exposure (skip the peroxide entirely) over several days can nudge very light yellowing in the right direction, though don’t expect dramatic results.
- Plastic restorer sprays meant for automotive trim can mask the look cosmetically, but they don’t touch the underlying chemistry. Think of it as makeup, not a cure, and the effect fades.
Maintaining Results Long-Term
Once you’ve got that shell looking right again, keep it that way:
- Keep consoles away from windows and direct sun
- If you’re displaying a collection, a UV-protective case is worth the money
- Don’t stack consoles in a warm attic or garage “just for storage”
Conclusion
Bringing a yellowed SNES shell back from the dead is absolutely doable at home, hydrogen peroxide cream, controlled UV, and patience get you there. The whole trick to avoiding damage is sticking to moderate peroxide strength, keeping a close eye on exposure time, and resisting the temptation to speed things up with extra heat. Do it right, and a thirty-year-old shell can look close to original white or gray again, no cracks, no faded logos, no regrets.